- Campaign Approval Process (Maker/Checker)
- Emergency Panic Button
- App uninstall tracking
- Remote Segment with variables
March 2021
w features available with this release:
Campaign Approval Process (Maker/Checker)
Enabling Campaign Approval Workflow for your Campaigns
Sending Campaign for Approval
Approved/Rejected
Emergency Panic Button (Resume / Suspend Campaigns)
Temporary Account Suspension
App Uninstall Tracking
Implementation
App-Level Analysis
Remote Segments with Variables
Adding Variables in a query
Adding a Variable
Type of Variables
Campaign Approval Process (Maker/Checker)
Campaign approval allows Marketing teams to control/review the campaigns that are going live by putting in place a Maker/Checker (Create/Approve) approach. Marketing teams can decide which users are allowed to create the campaigns and what all users have the privilege to approve them.
Some of the benefits of this new feature for your organization:
- Smooth Workflow: Between members of a team where managers can approve campaigns before they go live.
- Transparent Feedback Loop: No more email threads, chat messages, and calls for feedback. It’s all going to be in one place on a single platform.
- Communication Management: Only the authorized members of your team can schedule/ publish campaigns after the approval loop has been closed.
Maker/Checker is currently available for Marketing Campaigns created from the D·engage platform. This feature will be available for Transactional Content/Messages in the upcoming release.
Enabling Campaign Approval Workflow for your Campaigns
Campaign Approval Flow can only be enabled by Admin users. Navigate to D·engage platform select Settings > Users to add users to Maker/Checker roles or change roles for existing users.
Once enabled, users in the Maker role can create/edit campaigns and send for approval to selected Admin/Managers (Checkers). Only on approval, campaigns will become live.
Sending Campaign for Approval
After User Roles are configured, makers can create a campaign and send them to a list of checkers.
Approved/Rejected
Once Checkers receive the campaign for approval, they can review the campaign and choose to Reject or Approve it before the campaign sent time is passed.
- If approved, the campaign will become Live.
- If Rejected, the makers can edit the campaigns as per Checker's comments and send them again for approval.
Checkers can also choose to edit the campaigns Under Review and make them Live with all the necessary changes.
Few things to note:
- Marketers cannot edit the campaigns when campaigns are Under Review.
- Only the approvers that were asked to review the campaigns can Approve/Reject them.
- Checkers cannot edit the Rejected campaigns.
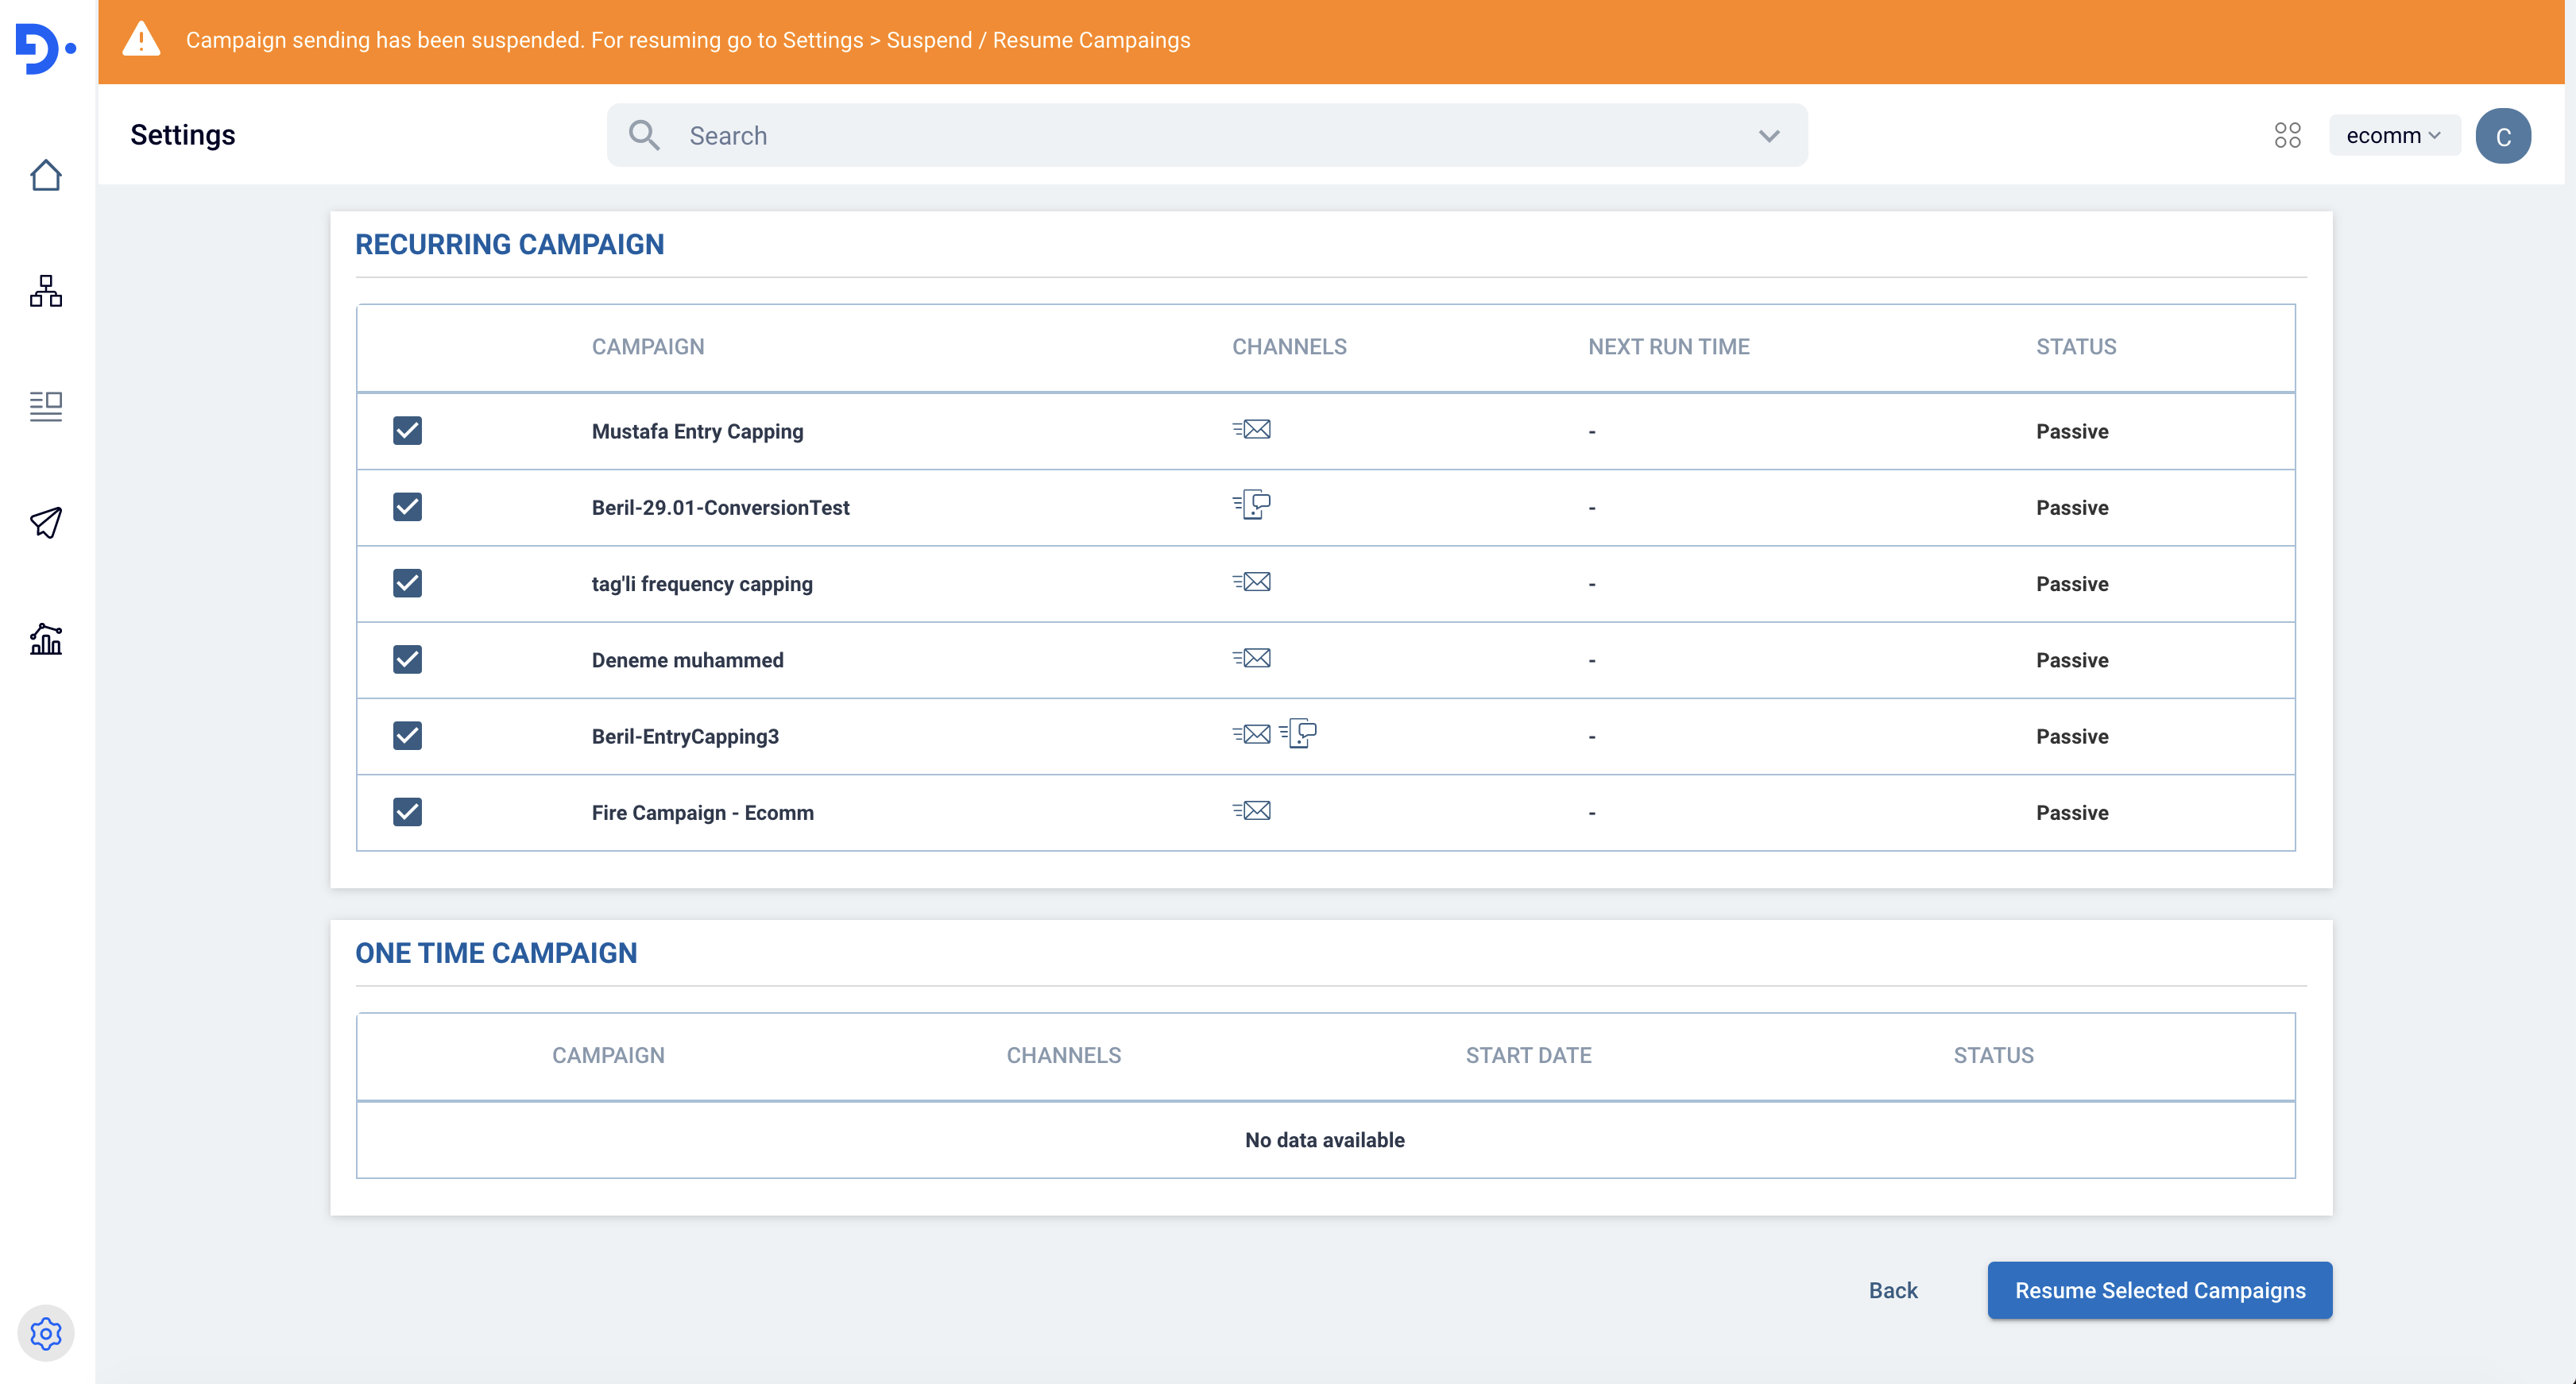
Emergency Panic Button (Resume / Suspend Campaigns)
The Panic button make it possible for organizations to suspend all outgoing marketing campaigns at once from a single panel. The Emergency Panic Button can only be enabled by Admin users.
Navigate to D·engage platform select Settings > Resume / Suspend Campaign. You will see a list of all the running and scheduled Recurring and One-Time Campaigns.
Deselect the campaigns you want to send and press Suspend Selected Campaigns.
Please note that only Recurring Campaigns can be resumed, One-Time Campaigns cannot be reactivated.
Temporary Account Suspension
Your account will be under-sending suspension and all the account users will be displayed a notification bar informing about the suspension status. Admin users will need to resume campaigns in order to bring the account status back to normal.
App Uninstall Tracking
It is essential to analyze the number of installs, uninstalls, and active users to run marketing campaigns effectively in the mobile app world. For this reason, we've added app uninstall tracking and reporting to the D·engage platform.
D·engage tracks app uninstalls by sending "silent" push notifications daily to all devices where your app is installed. Silent push notifications are notifications that are not created on the devices of the app users.
Please contact your account manager to activate this feature on your account.
Implementation
- Go to Settings > Applications
- Select "Add New Application"
- Enable the "Uninstall Tracking" option
App-Level Analysis
Daily statistics on uninstalls are found under Analytics > App Uninstalls page. The visualization can be broken down by app, selected time frames, and platform.
Remote Segments with Variables
We've added a new feature to the Remote Segments. We now offer the option to add variables to the queries we run against Remote Data Sources such as Google Big Query, Amazon Redshift, Microsoft SQL, and Oracle.
Adding Variables in a query
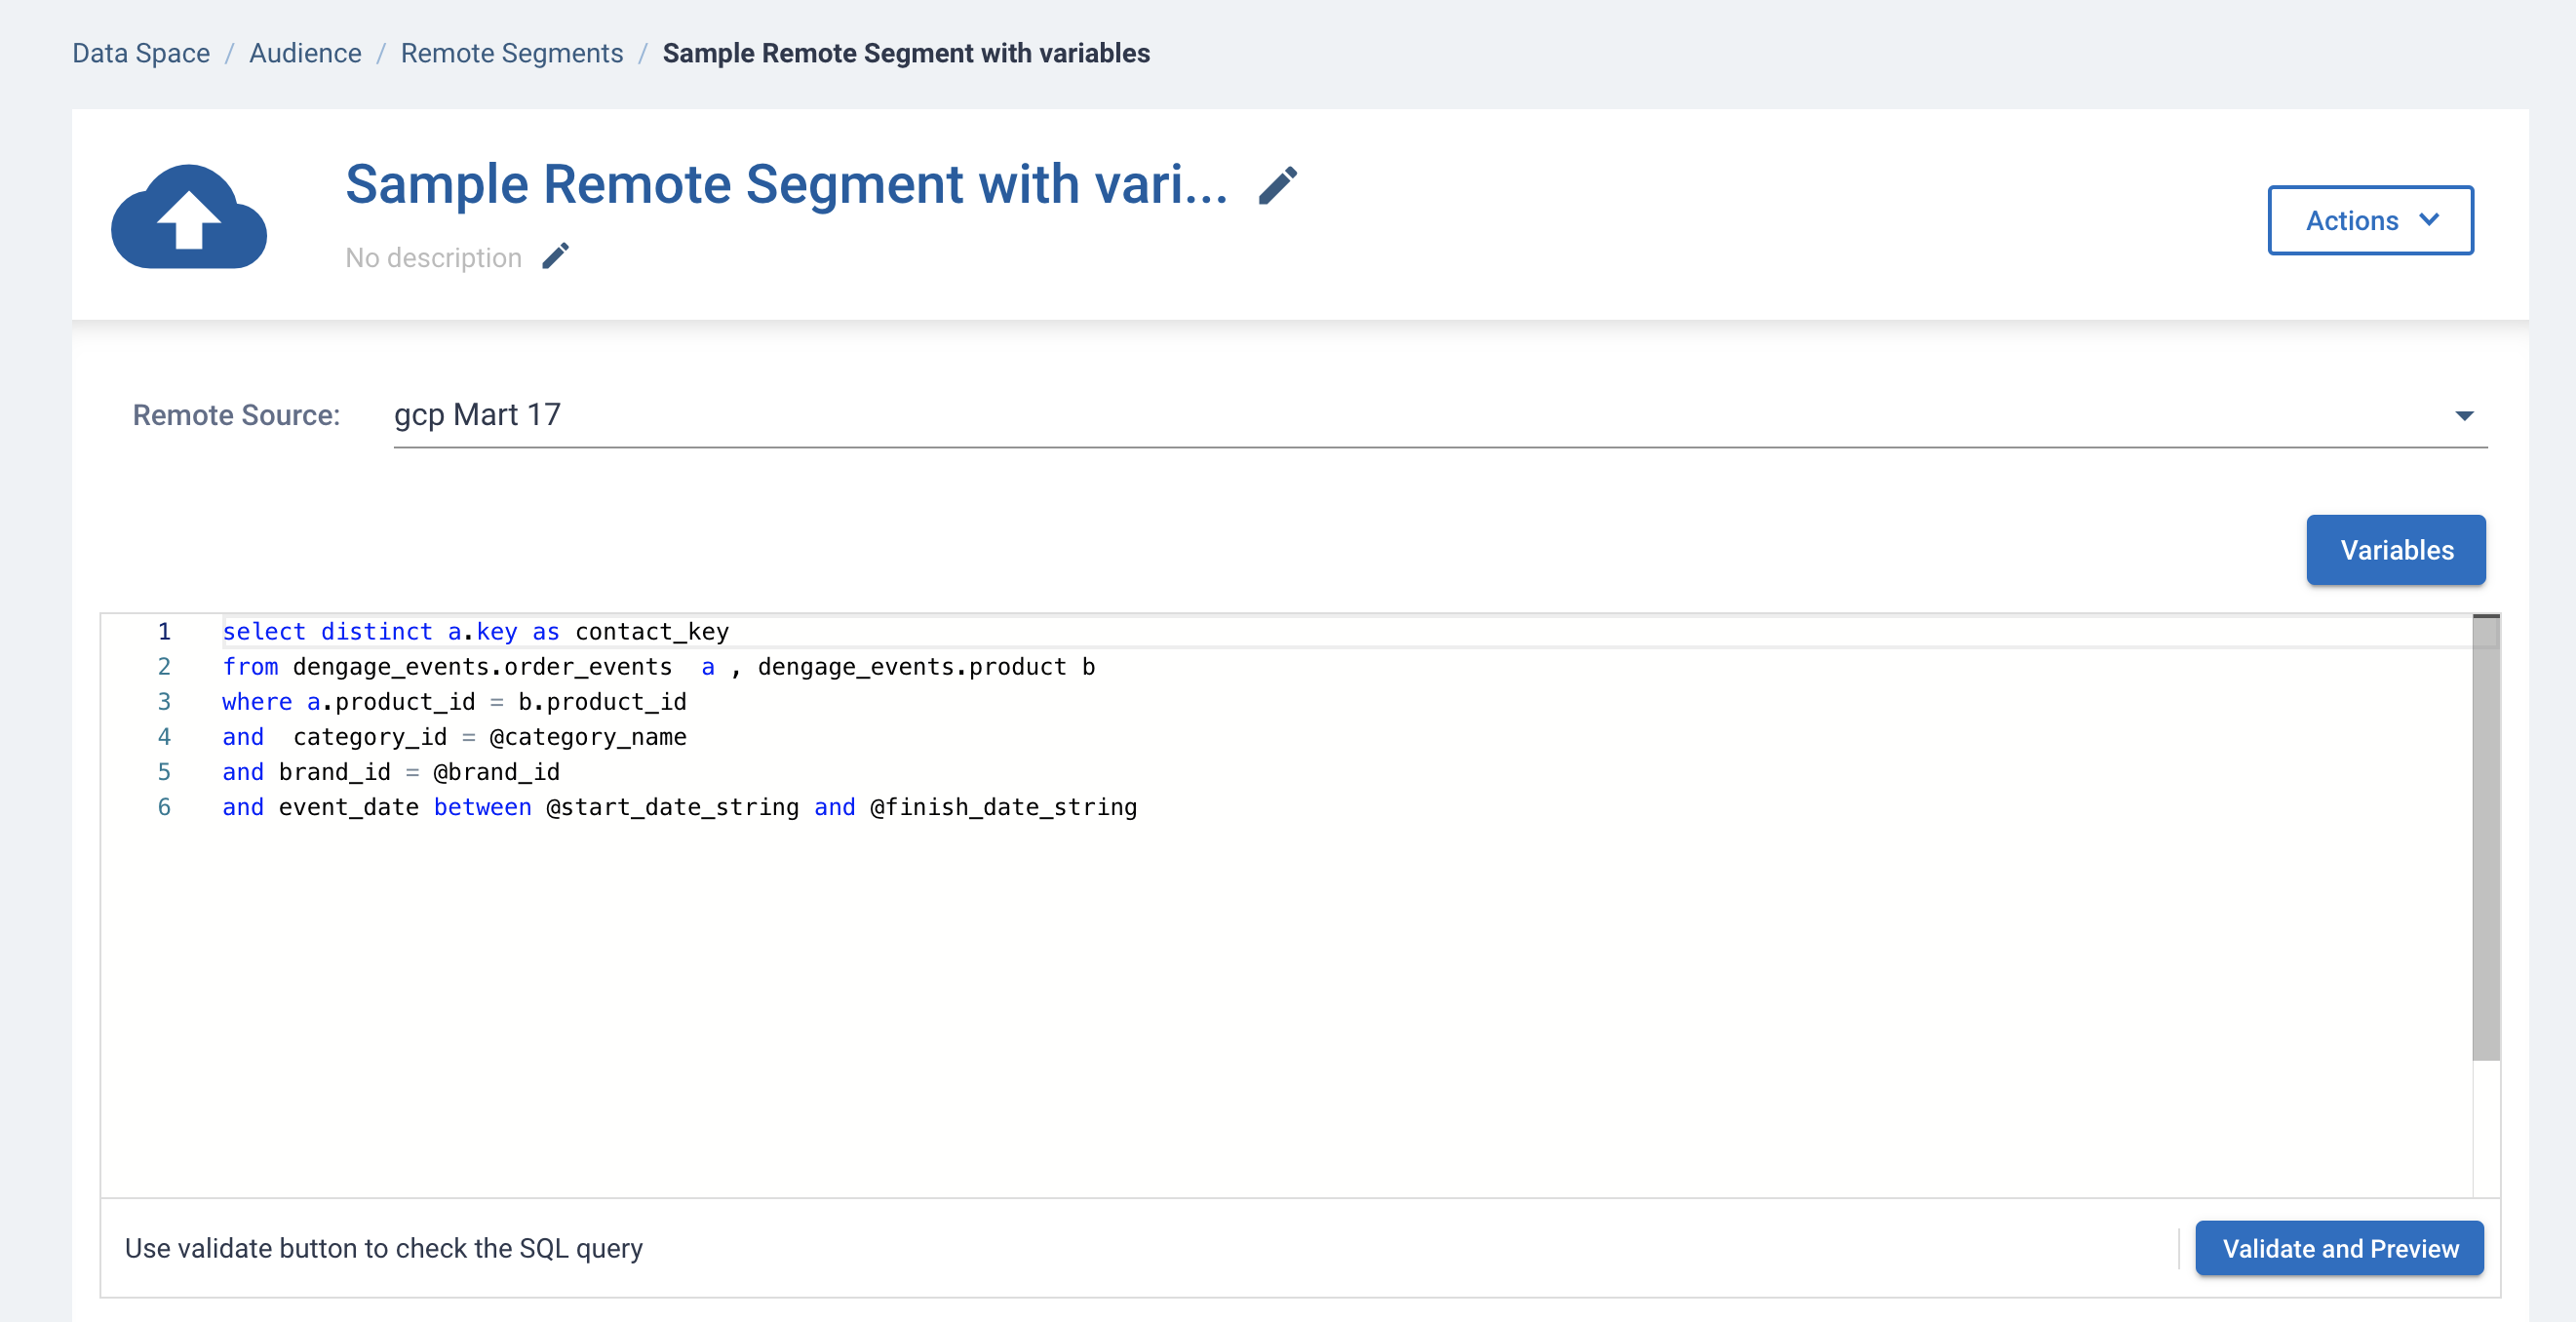
Remote Segments can be accessed from Data Space > Remote Segments.
Below you can find an example of how to write a query in Remote Segment with variables. @ sign creates a variable. In the query below, @category_list, @brand_id, and @start_date_string and @finish_date_string are all variables.
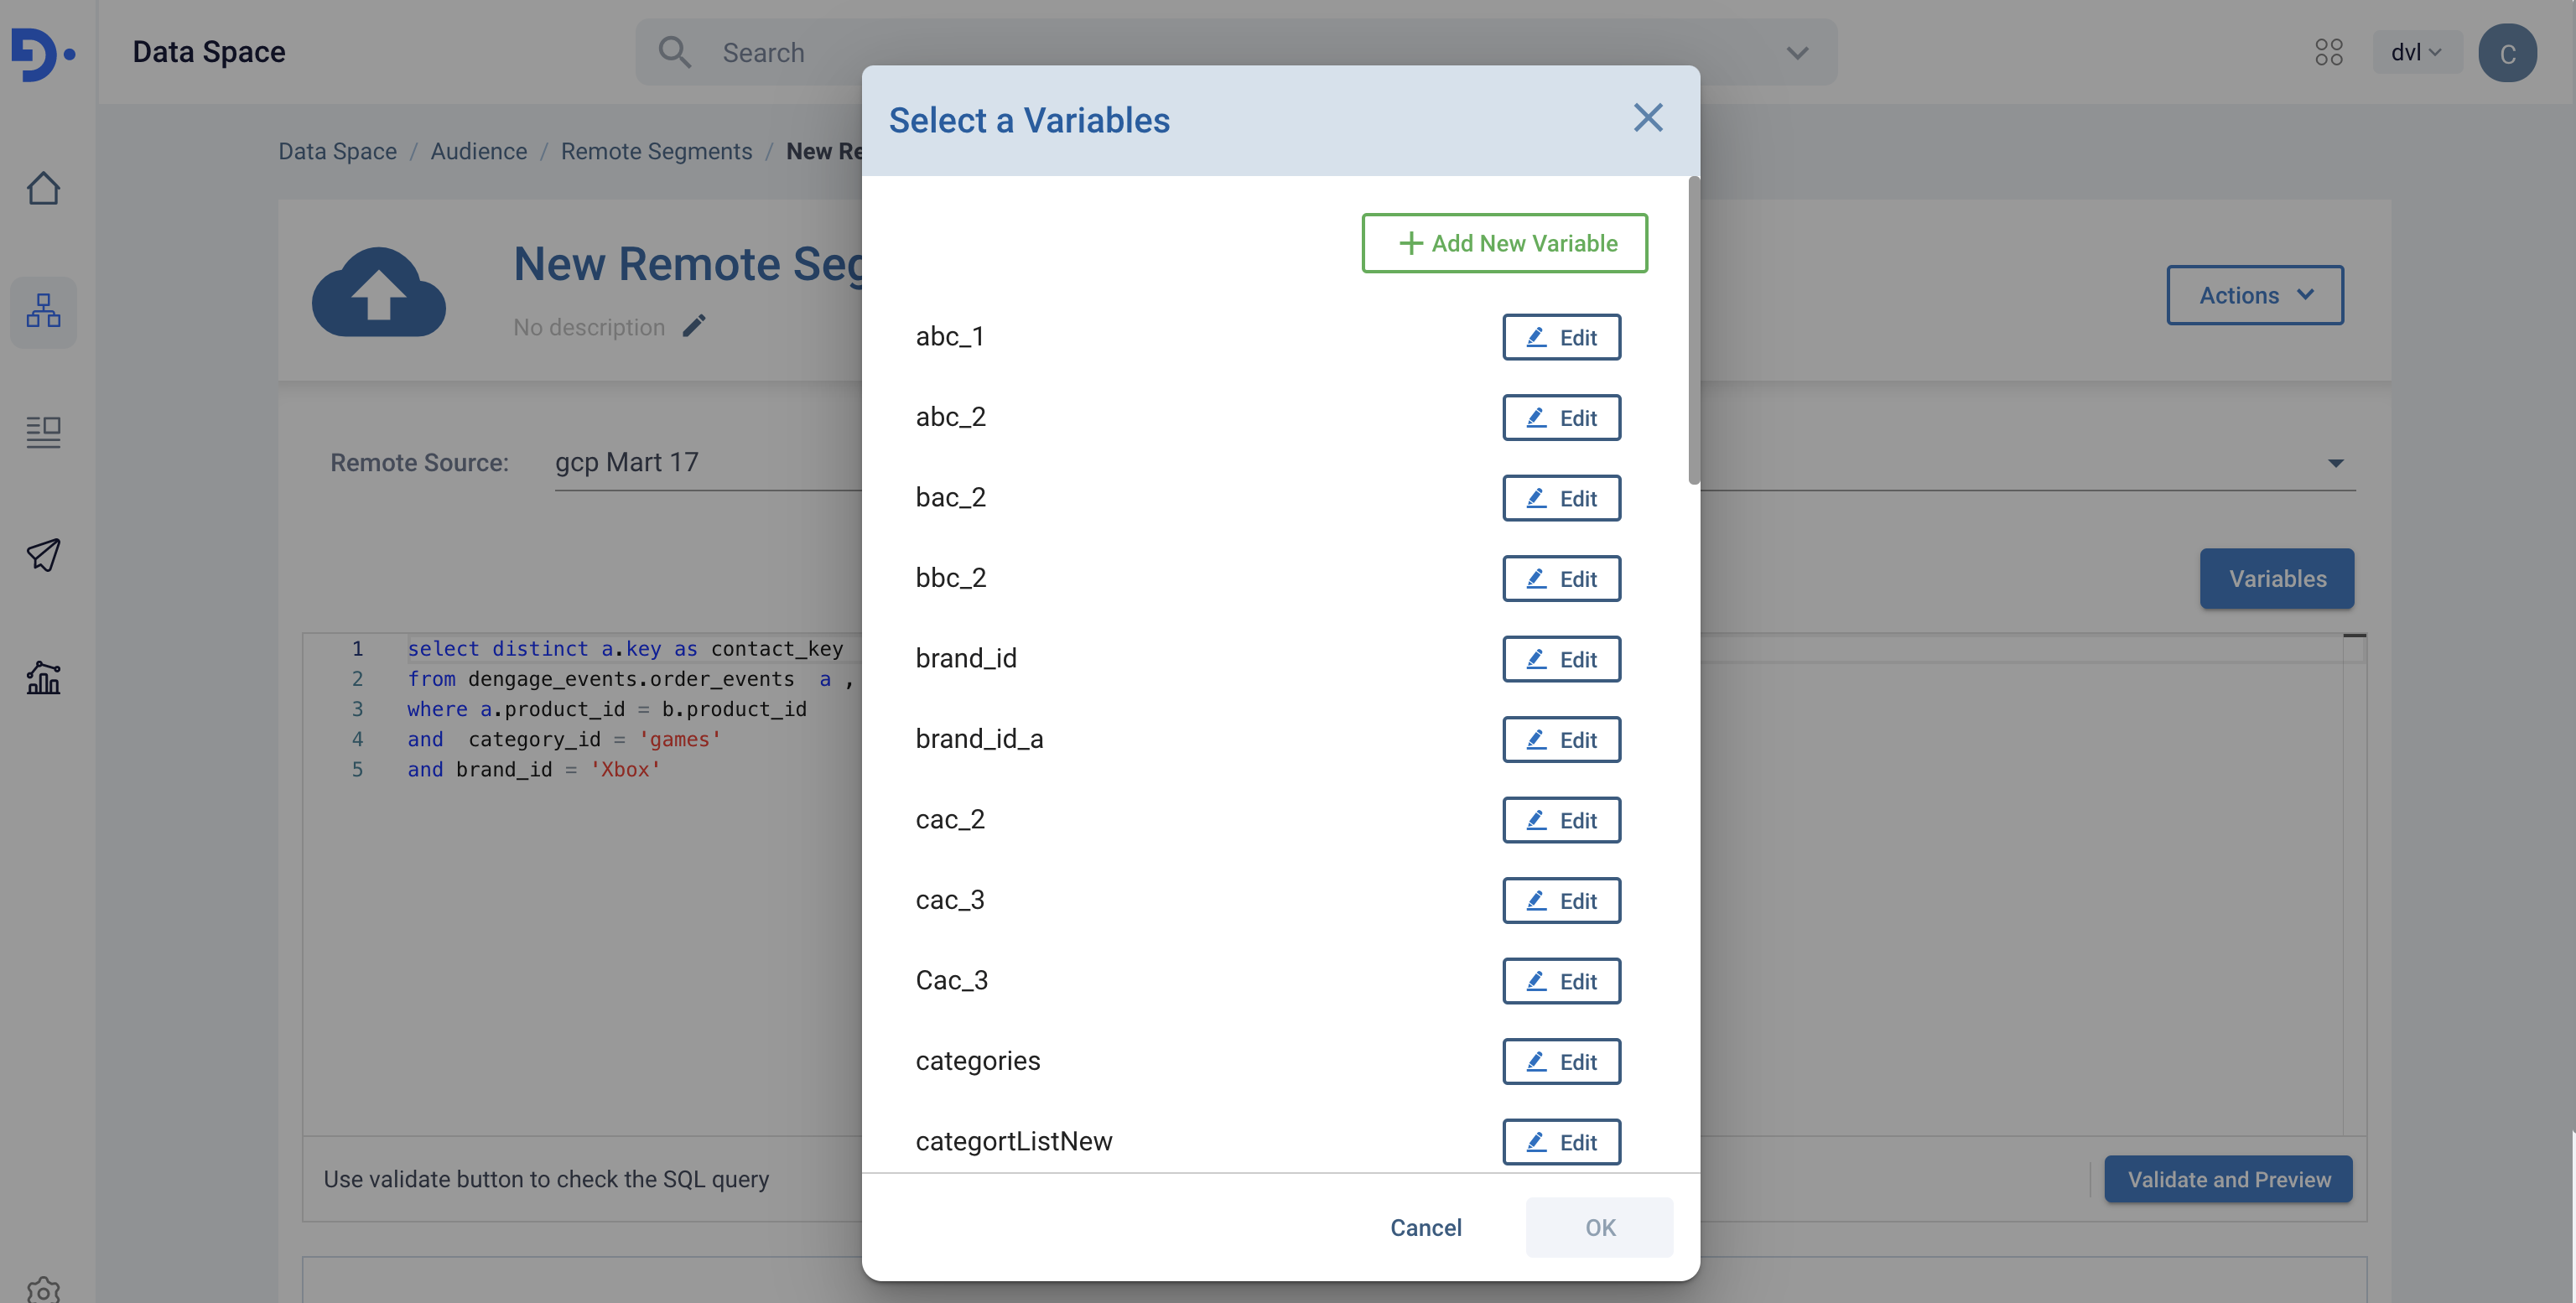
When you run such a query, the system will ask you to create missing variables if all variables are not already defined. You need to define all variables before you run the query. When you define all the variables, the system will bring you a parameter window and ask for the values as shown below:
Just fill the values and hit Run. The system will change the parameters with values and run the query.
Adding a Variable
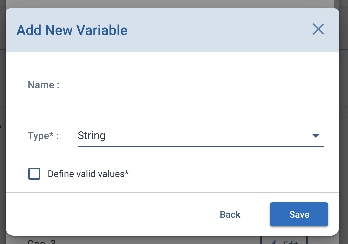
- Go to Data Space > Remote Segments and select "Variables" to create a new variable.
- Enter a unique name and type for your variable.
- Select the "Define Values" option to enter values
Type of Variables
| String | Single String Value | You can also create a valid value list but you can select only one string among the values when entering a value. |
|---|---|---|
| String List | Single String Value | You can also create a valid value list. You can select multiple values if you create this type of variable. ex. to use in IN SQL clause |
| Integer | A Single Integer Value | You can also create a valid value list but you can select only one integer among the values when entering a value. |
| Integer List | Multi-Integer List | You can also create a valid value list. You can select multiple values if you create this type of variable. ex. to use in IN SQL clause |
| Boolean | True/False Values | |
| Date and DateTime | Date and DateTime Variables | Once created the platform will provide a DateTime picker. |