Mixpanel - D·engage Integration
Pre-requisite
How to Integrate MIXPANEL With CDMP
- Login to your Mixpanel account.
- Go to the settings page.
- Click the “Advanced settings” option
- Follow the path “Settings → System→ Users and click on “Enabled users”
- Go to “application users” from the dropdown
- Click on the “New” option
- Click the “Application user” option from the “user” drop-down
- Copy “application (Service Account Username)” from this page and “save” the record
- Now open that created application record
- Click the “manage role” option
- Select all options from the “manage user roles” window then save the details.
- Select Mixpanel under Dataspace>Integrations from the left menu bar.
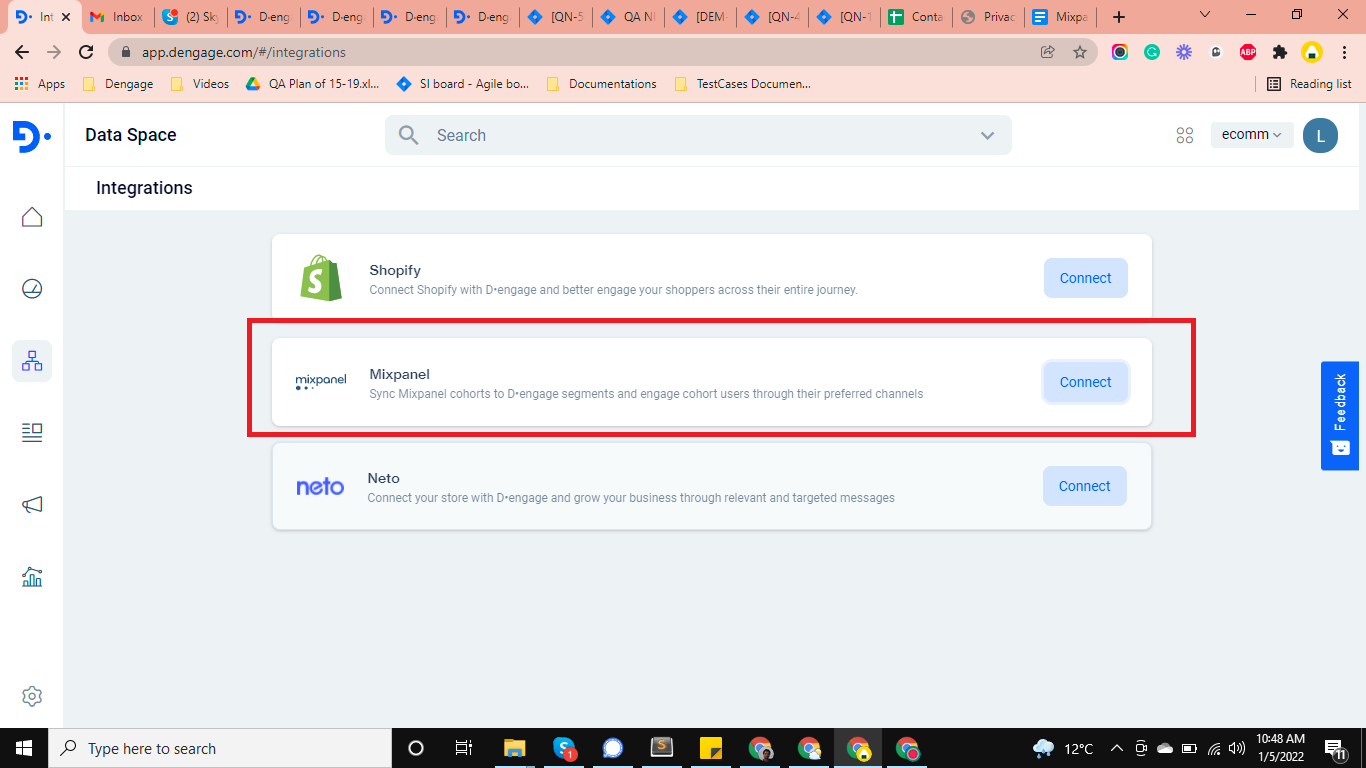
Click the “Connect” button against Mixpanel
Fill in the “Project ID”, “Service Account Username” and “Service Account Password”

- To get “Project ID”, “Service Account Username” and “Service Account Password” from your mixpanel account, follow the instructions below:
How to get "Project ID"
- Log in to the “https://mixpanel.com/ ” account.
- create a project
- go to settings → project settings
- There you can find your project ID
How to get “Service Account Username”
Log in to the “https://mixpanel.com/ ” account and create a project
Go to settings → organization settings
Go to Service Account and Create a Service Account from the “Add Service Account” button
From here you’ll get the “Account Username” and “Password”
How to get “Service Account Password”
You can get "Service Account Password" details by following these steps:
Log in to the “https://mixpanel.com/ ” account and create a project
Go to settings → organization settings
Go to Service Account and Create a Service Account from the “Add Service Account” button
From here you’ll get the “Account Username” and “Password”
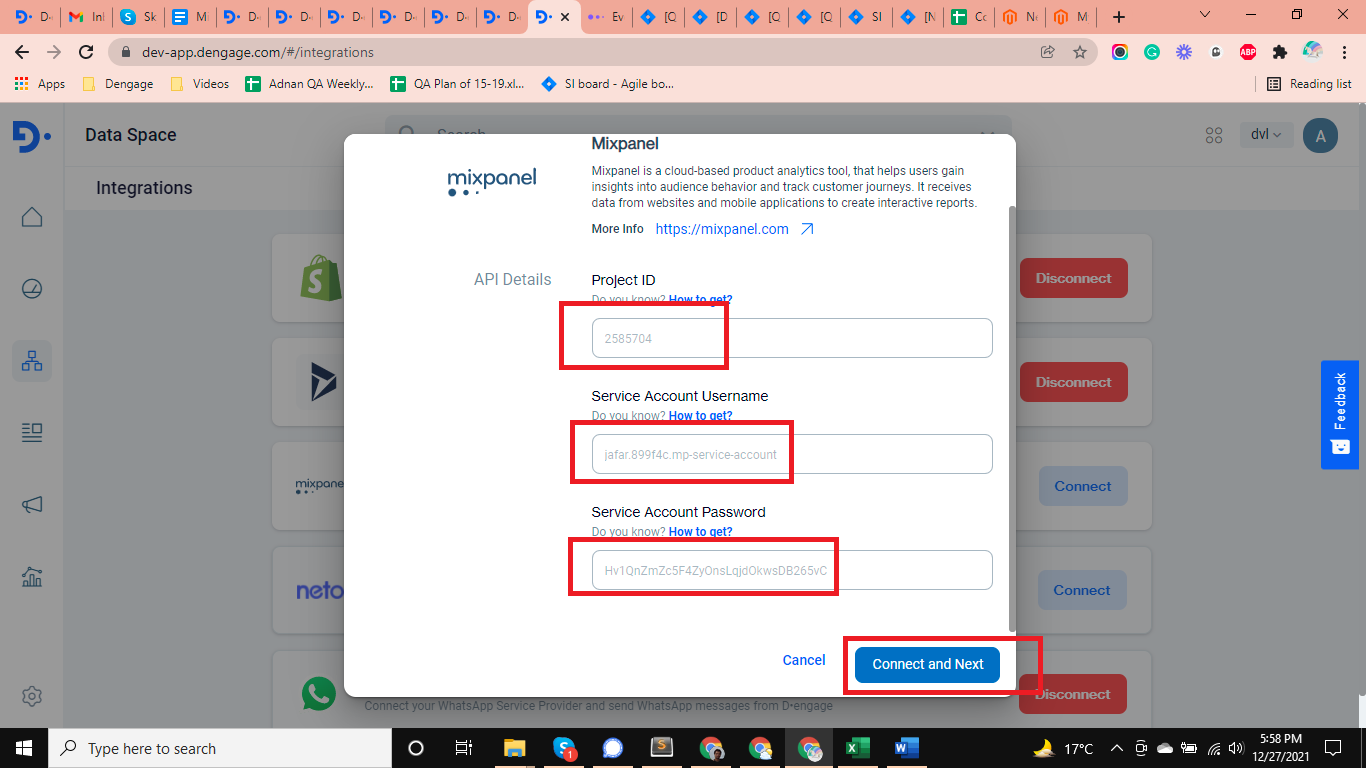
Hit the “Connect and Next” button to continue with the integration

You can also get the sync details through email by clicking on the “Notify by email” button once the data sync is completed

By clicking on the “Got it” button, you’ll be redirected to the details page where the status is shown as “Connected”
Here you can see the selected fields

and the API details

At any stage, you can disconnect your Mixpanel account by clicking on the “Disconnect” button
There will be a confirmation pop-up whenever you want to disconnect

Hit “Yes, Disconnect” to continue and “Cancel” to return back to the details page
- Go to segments and apply the "Mixpanel Cohort" filter
- Now choose the segment from the list and proceed
Related Articles
D·engage GTM Integration
There are two different ways for GTM integration. You can create new google tags as well as, you can use existing ones. (a) Using Existing Tags for Sending Events Data In order to use your existing triggers to send data to the D·engage platform you ...SurveyMonkey - D·engage Integration
With the SurveyMonkey integration, you can now import survey responses directly into your D·engage account, enabling you to enrich your Master_Contact table and build segments based on audience responses to create a more personalized experience. ...Neto Integration
Neto D·engage Integration In a matter of minutes, without a single line of code you will become able to connect your Neto store to your D·engage account. This integration is a one-way sync that sends your product catalog as well as your contact and ...Event Data Integration
There are two options to send Event Data to D·engage: 1. Send event data via D·engage SDK First, you need to create a website application to use the dEngage Web SDK. Go to D·engage Event SDK page for detailed instructions to 'create an ...Magento - D·engage Integration Phase 1
D·engage is now able to integrate with the most go-to Framework for Ecommerce, i.e Magento. With this integration, you will be able to sync the following data from your Magento Website to D·engage CDMP: Contacts Products Product_variant Order ...