Language Support for Onsite Template Content
The Language Support for Onsite Template Content feature allows users to create multilingual onsite content. Users can add languages to their content and manage them efficiently. When adding a language, they have two options:
- Copy From Content: Copies existing content fields to the new language.
- Create Blank Content: Creates a new blank content entry.
How to Access
- Navigate to Content > Marketing > Onsite.
- Click the New button.
- Choose either Visual Editor or HTML Editor.
- If using the Visual Editor, select a template.
- Enter a name for your content and click Next.
- In the Content section, click the Add Languages button.
- Choose one of the two options:
- Copy From Content
- Create Blank Content
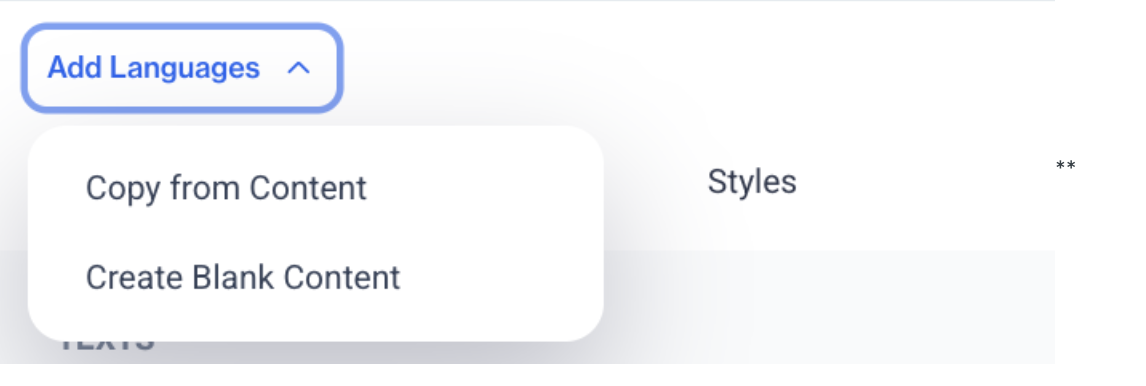
Add Languages
Note: The Add Language option appears only if no language has been added. If multiple languages exist, users can add new languages ticking boxes then click the Apply button.
How to Use
Adding a Language
- Click Add Languages to open a selection modal.
- Choose one of the following options:
- Copy From Content: Copies existing content fields to the new language.
- Create Blank Content: Creates an empty content entry for manual input.
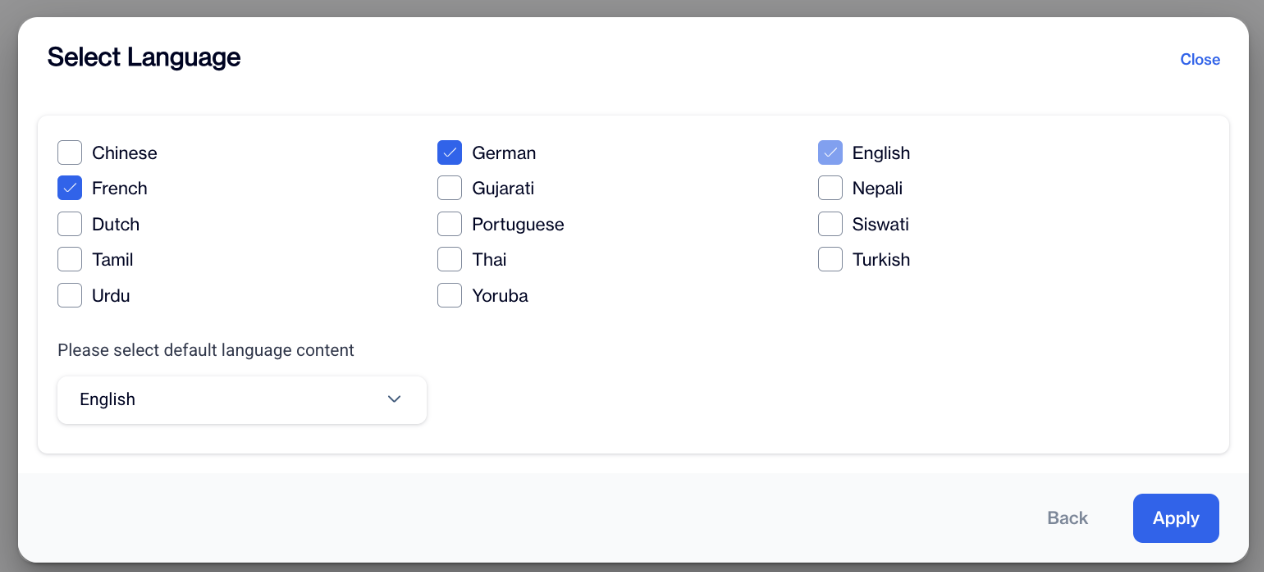
Select Language
- The modal displays languages activated in Settings > Campaign Configurations > Content Languages.
- Select the desired language.
- Fill in the required fields for the newly added language.
Editing and Managing Languages
- Users can edit added language content.
- To remove a language, deactivate it from the content management screen.
- Deactivated languages will not be used for content display but can be reactivated when needed.

Managing Languages
Mandatory Fields and Saving Content
- Content can only be saved as Save Draft or Publish when all required fields are filled for each language.
- A default language must be set in Settings > Campaign Configurations > Content Languages.
- New content starts with the default language.
- The default language cannot be removed, but it can be changed in the language addition modal.
Content Display Rules
Content is displayed based on the following priority order:
- Page Language: The system first checks the page language.
- Browser Language: If the page language is unavailable, the system checks the browser language.
- Default Language: If no matching content is found, the system displays the default language.
This ensures that users always see content in the most relevant language based on their settings.
Related Articles
Creating Onsite Content
The Onsite Content feature is a powerful tool within the platform that allows users to display personalized marketing content directly on their website. This content can include banners, pop-ups, and other interactive elements aimed at improving user ...Onsite
This section contains all on-site content. It includes All on-site items and items Created by me. Moreover, you can create a new on-site item by using Visual Editor and HTML Editor. All on-site data will be stored under different folders, and you can ...Onsite Builder
Onsite Drag and Drop Editor (Onsite Builder) The Onsite Builder is a new feature that introduces a drag-and-drop interface for creating onsite content. It allows users to design banners, pop-ups, floating bars, and more using a visual editor—without ...Advanced Personalization in Onsite
In onsite content, you can customize any field where the Add Customization button appears. For example, you can apply customizations in the Title, Message, and Links fields. Visual Editor When you click on the customization icon in the Visual Editor, ...Creating Email Content
The Email Content section allows users to create email content using different tools based on their requirements. You can create email content using the Rich Text Editor, Code Editor, Email Builder, or by Uploading a pre-designed file. This ...